


Check requirements
- VS Code with GitHub Copilot in Agent mode. MCP is not available in Ask or Edit mode.
- A NeetoChat account.
Connect NeetoChat to VS Code
-
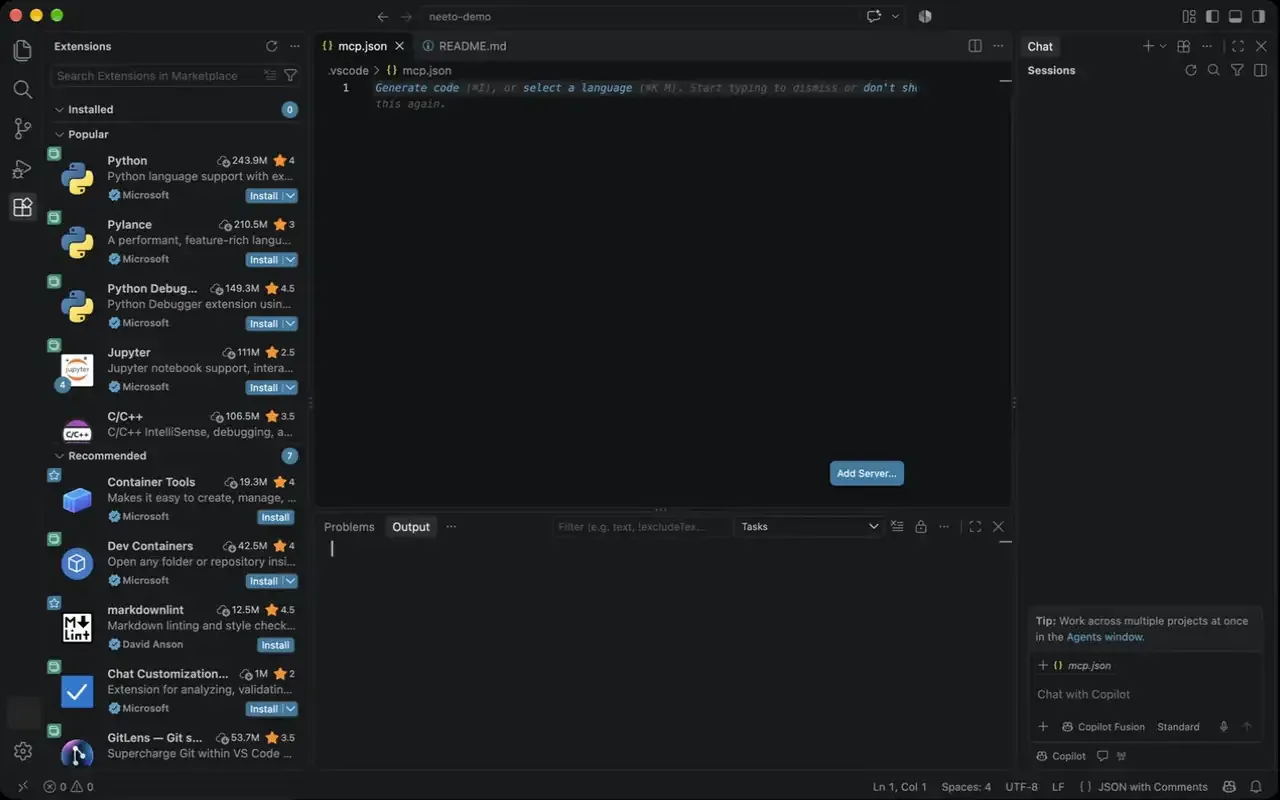
In your workspace, open or create
.vscode/mcp.json. -
Paste this into the file:
{ "servers": { "neetochat": { "type": "http", "url": "https://connect.neetochat.com/mcp/messages" } } } -
In Copilot Chat Agent mode, sign in to NeetoChat when asked.
Connect with an API key
An API key reaches the whole workspace, not only what you can see. It is not tied to a person, and role checks do not run.
Create .vscode/mcp.json in your workspace. Never paste the key into this file, because it lives in your project and can end up in a commit. VS Code asks for the key instead:
{
  "inputs": [
    {
      "id": "neetochat-api-key",
      "type": "promptString",
      "description": "NeetoChat API key",
      "password": true
    }
  ],
  "servers": {
    "neetochat": {
      "type": "http",
      "url": "https://connect.neetochat.com/mcp/messages",
      "headers": {
        "Authorization": "Bearer ${input:neetochat-api-key}"
      }
    }
  }
}
VS Code's Copilot agent does not read servers that use ${input:...}. To use the key there, put the server in .mcp.json at the root of your workspace and read the key from an environment variable:
{
  "mcpServers": {
    "neetochat": {
      "type": "http",
      "url": "https://connect.neetochat.com/mcp/messages",
      "headers": {
        "Authorization": "Bearer ${NEETOCHAT_API_KEY}"
      }
    }
  }
}
Set NEETOCHAT_API_KEY in the environment that starts VS Code. The sign-in setup above works in both the Local and Copilot agents.
Try these prompts
How many NeetoChat conversations are open right now?
Reply to the conversation with jane@acme.com and let her know her refund has gone through.
List the team members in my workspace.
Ask your assistant to confirm before it posts a reply, changes a conversation's status, or deactivates a team member. MCP actions affect your live workspace.
Troubleshooting
Your AI assistant shows no NeetoChat tools
You need VS Code with GitHub Copilot in Agent mode. Check that .vscode/mcp.json is in the workspace you have open, and that the server is under servers, not mcpServers.
The connection is refused or unauthorized
With an API key, answer the prompt for the key the first time the server is used. With OAuth, remove and re-add the server to restart the sign-in.
More fixes are in the NeetoChat MCP troubleshooting guide.
Frequently asked questions
Can I use NeetoChat MCP with VS Code?
Yes, with GitHub Copilot in Agent mode. Add the server to .vscode/mcp.json under servers. See the NeetoChat MCP setup guide for other clients.
Use NeetoChat in other AI assistants
| AI assistant | Setup guide |
|---|---|
| Claude | Use NeetoChat in Claude |
| ChatGPT | Use NeetoChat in ChatGPT |
| Claude Code | Use NeetoChat in Claude Code |
| Cursor | Use NeetoChat in Cursor |
| Codex | Use NeetoChat in Codex |
| Antigravity CLI | Use NeetoChat in Antigravity CLI |
| Devin | Use NeetoChat in Devin |
| Antigravity | Use NeetoChat in Antigravity |
| Any other MCP client | NeetoChat MCP server |
Prefer the terminal? The NeetoChat CLI reaches the same data from your shell, your scripts and your coding agent.